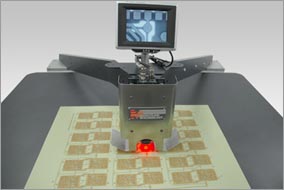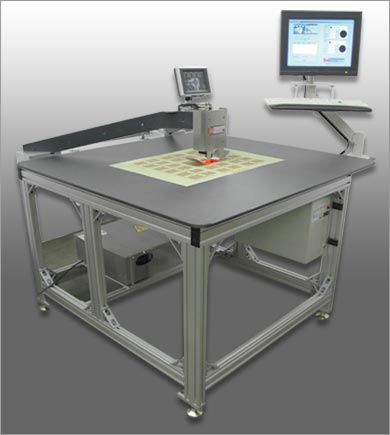

The Vision based Multiview easily measures front to back registration of images and features. The Multiview is a very accurate and quick method for verification of front to back registration on inner layers, outer layers, finished boards and RF microwave boards.
 Utilizing two high resolution CCD cameras at 60X magnification the Multiview can inspect and report front to back positions to within +/- 0.0002 inch (5 ěm). The cameras are mounted opposite each other in a rigid frame and are used to analyze the features and feed the information back to the vision system computer. The relative positions of the front and back features are automatically calculated and displayed as an X and Y displacement and also as a vector (relative angle and distance).
Operation
The initial set up such as target selection and tolerance limits are input by touch screen or keyboard. A small TFT monitor is provided to allow the operator to rough align the panel to be measured between the upper and lower cameras. A start button is pushed and the front to back alignment registration of the two features is automatically displayed on the full sized color monitor. Any out of tolerance condition is highlighted so the operator is immediately aware of the problem. No fine adjustment or operator judgement is required.
Specifications
- Measurement accuracy
+/- 0.0002” (+/- 5.0 ěm)
- Panel sizes from 6”x6” (152mm x 152 mm)
to 24” x 30” (610mm x 762mm)
- Panel thickness range 2 mil to 55 mil
(0.05mm to 1.4mm) standard (see options)
- Target size range 25 mil +/-2mil
to 85mil +/-2mil (1mm to 3.3mm)
To receive more information on the Multiview Inspection System through e-mail contact Multiline Technology or fill out our Literature Request Form.


